
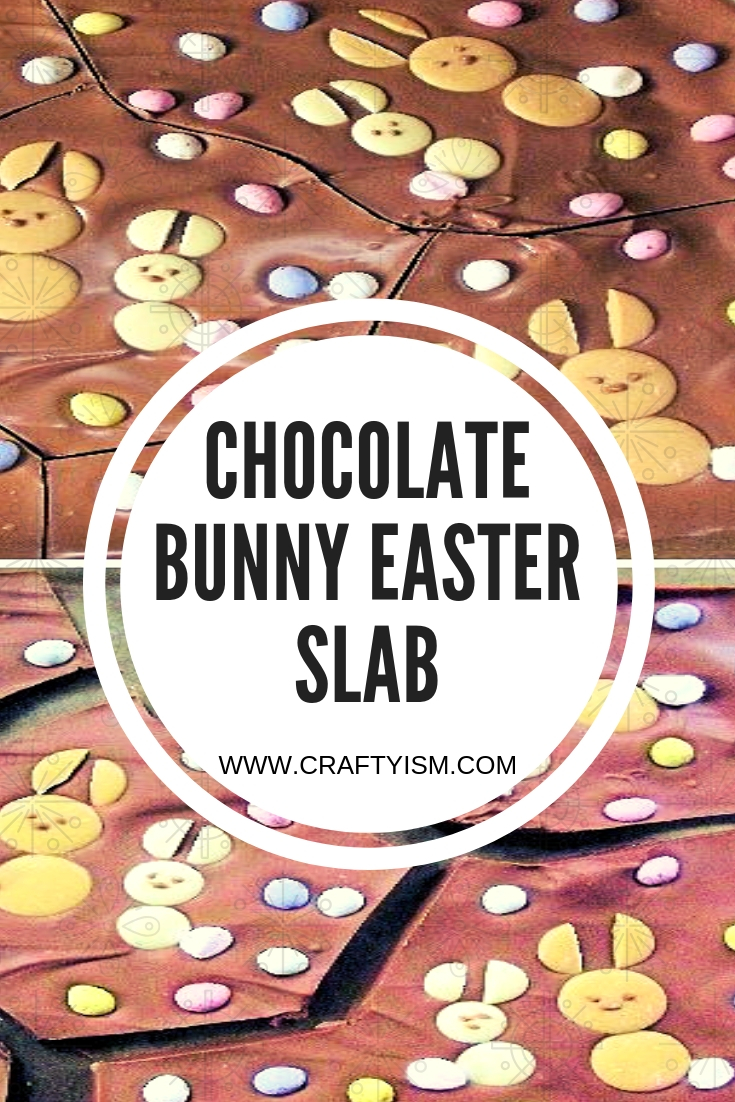
It’s nearly Easter! This year I want to make my chocolate gifts, so I’ve come up with this really easy recipe for an Easter Bunny Chocolate Slab. You can break it up and give chunks as an Easter present, or eat it all yourself… I won’t judge! Keep reading to find out how to make your own easy Easter Bunny Chocolate Slab.
You will need:
- 600g of milk chocolate (I used Galaxy)*
- Caramac giant buttons*
- Milkybar mini buttons*
- Pink and white mini marshmallows
- Mini mini-eggs*
- Baking tray lined with baking paper (mine measured about 35x22cm)
- Sharp knife
- Toothpick
- Glass bowl
- Pan of boiling water
- Spatula
(The links with the * are just to show which product I used. You can find them much cheaper in regular supermarkets!)
Step 1:
 First of all, prepare the Easter Bunnies. Each Easter bunny will use three buttons. Start with the Caramac buttons. Take one button and with a sharp knife, carefully cut it into three (See top photo). The two outer curved sections will be the Easter Bunny ears! Discard (eat) the middle section. Repeat this four more times. Line up each set of ears with two whole buttons, making five bunnies in total. I want to make an Easter Bunny Chocolate Slab for five people, so I need to make five Caramac bunnies. You can make more or less if you prefer.
Step 2:

Next to make the smaller Milkybar Easter bunnies. Take one of the Milkybar buttons and cut it straight in half with the sharp knife. These two halves will be the Easter bunny ears. Again, repeat four more times and then line them up with two whole buttons. You will have five Caramac bunnies and five Milkybar bunnies.
Step 3:
 Break up your milk chocolate into small pieces and place into the glass bowl. Put the glass bowl over a pan of boiling water, making sure that the water doesn’t touch the bottom of the bowl. Continuously stir the chocolate with the spatula (be careful of the steam!).
Step 4:
 Once the chocolate is all melted and glossy, carefully pour it into the prepared baking tray. Working quickly, smooth the surface of the chocolate so that it reaches the edges of the tin and is pretty level on top. Reserve a small scraping of melted chocolate in the bowl.
Step 5:
 Again, working quite quickly so that the chocolate doesn’t set, place your Easter bunnies. Place down the Caramac bunny first, starting with the ears, then the two whole buttons underneath. To one side of the Caramac bunny, place the Milkybar bunny, again starting with the ears then two whole buttons. Make sure that your groups of bunnies are well spaced out on the tray so that you can cut them out later. Lastly, add mini marshmallows as the bunny’s fluffy tails! Place a white marshmallow on the side of the bottom Caramac button, and a pink marshmallow on the Milkybar bottom button.
Step 6:
 Whilst the milk chocolate is still melted, scatter mini mini-eggs around the groups of bunnies. You could add other sweets and sprinkles as well if you like, or just keep it plain.
Step 7:

Using the melted chocolate you reserved in the bowl and a toothpick, give the Easter bunnies a face! Place two small blobs of chocolate on the top button as eyes, then a small blob underneath for a nose. Repeat for all ten Easter bunnies.
Step 8:

Leave the chocolate to set for a while. When it is a little firm but not completely set, take the sharp knife and cut up your slab. This doesn’t have to be neat and even, just make sure that each piece has a group of two bunnies on it. Some pieces will end up being bigger or smaller. When the chocolate is completely set, break it up along the knife lines. You could give the biggest piece to your favourite person… or save it for yourself!
 Now you have a beautiful Easter Bunny Chocolate Slab! To give a piece as a gift, you could wrap it in Easter tissue paper, or pop it into an Easter themed cellophane bag. Or how about making it extra special by presenting it in a tissue lined gift box and tying around an Easter ribbon? Let me know if you have a go at making these and how you presented yours!
This blog post contains sponsored content, affiliate or referral links which may reward me in the event of a subscription or sale. I use these funds to feed my cat and buy more craft stuff. My cat and I thank you! For more information click here.
