
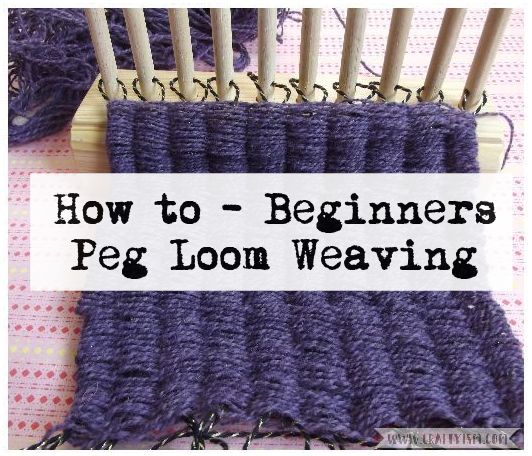
After reading Crochet Loom Blooms by Haafner Linssen I had a hankering to learn some new textile crafts. By chance a friend asked if I’d like a peg loom that she didn’t want any more. To be honest, I had no idea what a peg loom was, or how to use it! But after some online searching and video watching, I had it figured out. The process is so easy and the results look great! So if you fancy a new craft, why not try a peg loom? Follow along with these beginner steps:
You will need:
- A peg loom
- Wool, string or ribbon to weave with
- Wool or string for the peg warp
- Scissors
What’s going on?:
 So what is a peg loom?
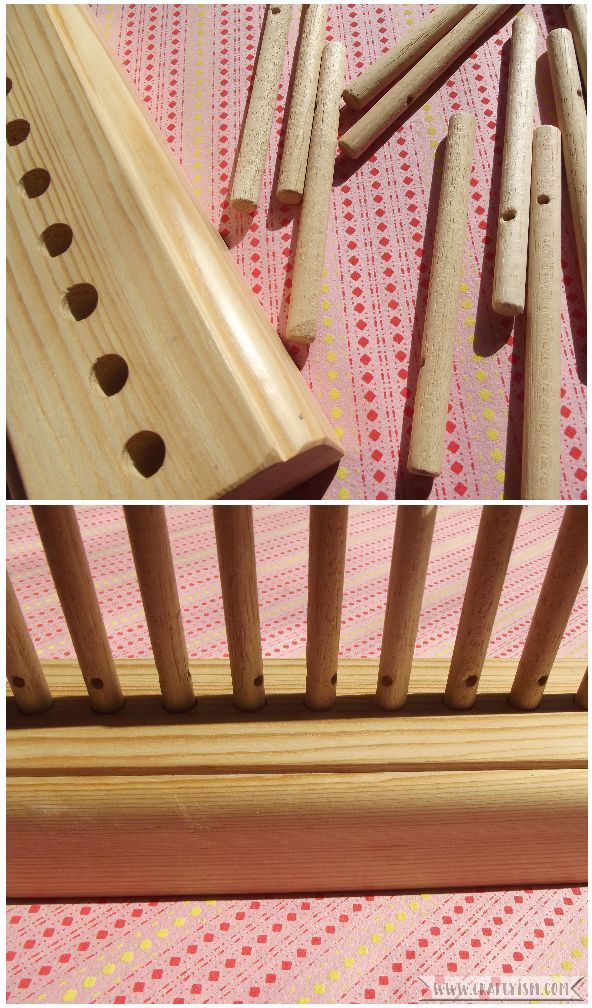
It’s a wooden block with evenly spaced holes. In the holes fit wooden pegs. Each peg has a hole running through the middle of it. Every peg is threaded with a warp thread. A weft thread is woven in and out between the pegs. This creates a woven fabric.
Basically a peg loom is a way to create your own fabrics and woven pieces. My loom has 10 pegs which makes a fabric about 17cm wide. The more pegs your loom has, the wider fabric you can loom.
Step 1:
 The first step is to set up your pegs with a warp thread. I’ve used a black and gold string as I thought it would be quite strong. Cut equal lengths of the string and pass an individual string through the hole in each peg. Place the peg in a hole in the block of wood, and pull the end of the strings so that they’re level. Repeat with all the pegs making sure that all the strings are roughly the same length.
The wool that you weave with will be pushed down to the end of these strings. Therefore, it’s important to make sure that your warp threads are the right length for the size of fabric you want to weave.
Step 2:

I bought a skein of rare breeds wool that I’d been saving for a special occasion which I decided to use as the weft thread. The weft thread is the one that gets woven around the pegs and pushed down onto the warp string.
To start the weaving, tie the end of the wool (weft) onto the last peg on the right. Make sure it’s tied just above the hole which the warp string is threaded through.
Step 3:
 Using the wool and starting from the right peg, weave the wool in and out, between the pegs. When you get to the last peg on the left, take the wool around the peg and continue weaving. This second pass will be opposite to the direction you wove on the first go. Keep going like this, pushing the wool down as you go, to create a solid block of weaving.
Step 4:
 When you have a block of weaving about 2 inches high, it’s time to move the fabric down the warp threads. To do this, make sure that your wool is at the last peg on the right. Carefully pull this peg out of its hole and up through the woven fabric. Replace the peg back in its hole and repeat this with all the other pegs until the weaving is completely off the pegs.
Step 5:
 Repeat steps 3 and 4, pushing the weaving together as it goes down the warp threads. Keep going until you have run out of wool, or the weaving is as long as you want. Tie the end of the wool onto the wool thread below it to secure.
When you’ve finished, pull the weaving down the warp threads so that you can cut the warp threads at the peg hole, leaving the threads long enough to tie. To stop the weaving from unravelling, the warp threads need to be tied. Start at the bottom of the weaving with the warp thread at the far left side. Tie this thread to the one next to it (thread 2) Tie thread 2 to the one next to it (thread 3) and so on. Once you have reached the end and got to the thread on the far right, repeat the process, this time going from right to left. The threads have now been knotted twice and the excess can be cut, or left long as a decoration.
Repeat the knots on the other side of the weaving to secure that end.

I’m so surprised at how easy the peg loom is to use and how quickly the weaving worked up. My 10 peg loom and 25g of wool made a finished weaving of 28x17cm. It’s quite thick but still very flexible and I think I’ll use it as a little place mat. A larger peg loom would make brilliant rugs or cushions and you could use super chunky wool or even cut up t-shirts.
I know that this is the very basics of peg looming and that you can get really fancy with patterns and finishing. If you have any tips, please let me know as this is a craft that I think I’ll be trying again!
This blog post contains sponsored content, affiliate or referral links which may reward me in the event of a subscription or sale. I use these funds to feed my cat and buy more craft stuff. My cat and I thank you! For more information click here.

I’m so lost on tying the warp threads, when and how to tie needs to be better explained to me, think 10 yr old even though I’m 51
Hi Rob!
The warp threads only need to be tied once you have finished weaving! Start at the bottom and tie the two threads on the left together. Then take the second thread and tie it to the third and so on, until you have knotted all the warp threads across the bottom. Cut the top warp threads from the pegs and repeat the knotting process from left to right.
If you are a visual learner, like I am, you might find it easier to understand by searching for a video demonstration on YouTube. There are a lot of very helpful videos which initially taught me how to use the peg loom.
Good luck!