
The Print and Cut feature in Cricut Design Space means that you can make your own stickers! Use them in your planners or bullet journals, or add them to customise wedding stationary and gifts.
Here I’ll show you how to use the Print and Cut feature using the Cricut Maker. Watch the video or keep scrolling for written instructions.
1 – Upload your design to Cricut Design Space. PNG files work best but you can also use JPG. Once your image has loaded, select ‘Complex’ to make sure that all the colours and small shapes can be seen. If your image isn’t very colourful or complicated, you can try some of the other settings to see which works best.
2 – If you need to, you can now erase any parts of the design that you don’t want to print. Click ‘Continue’ and then click ‘Save as a Print Then Cut image’. Click ‘Continue’
3 – Select your design, then ‘Upload’ to the Cricut Design Canvas.
4 – When you upload your design, you might get a message telling you that it’s too big to fit on the paper. Resize the image to your desired size. If you have uploaded multiple images, you can select them all and click the ‘Attach’ button. This fixes them all in place and they will print in the way you have arranged them.
5 – Click ‘Make It’. Check that the design is how you want it. Click ‘Continue’, then ‘Send to Printer’. In the Print Setup box, uncheck ‘Add Bleed’ and if you like, turn on ‘Use System Dialog’ (This last one allows you to adjust your printer setting before you print) Then click ‘Print’
6 – Print your design onto sticker paper. Follow the manufacturers instructions, as each paper will be slightly different.
7- Place your sticker paper onto a light grip Cricut mat. Place it in the top left corner, design side up.
8 – Follow the instructions on Cricut Design Space to load the mat and cut the stickers. I recommend the Washi cut setting if you’re using a Cricut Maker, but it’s always a good idea to do a test cut when using a new brand of sticker paper to find what setting work best.
9 – Once you have finished cutting and unloaded your mat, carefully peel off your sticker paper. Cut around the black boarder to create your sheet of stickers.
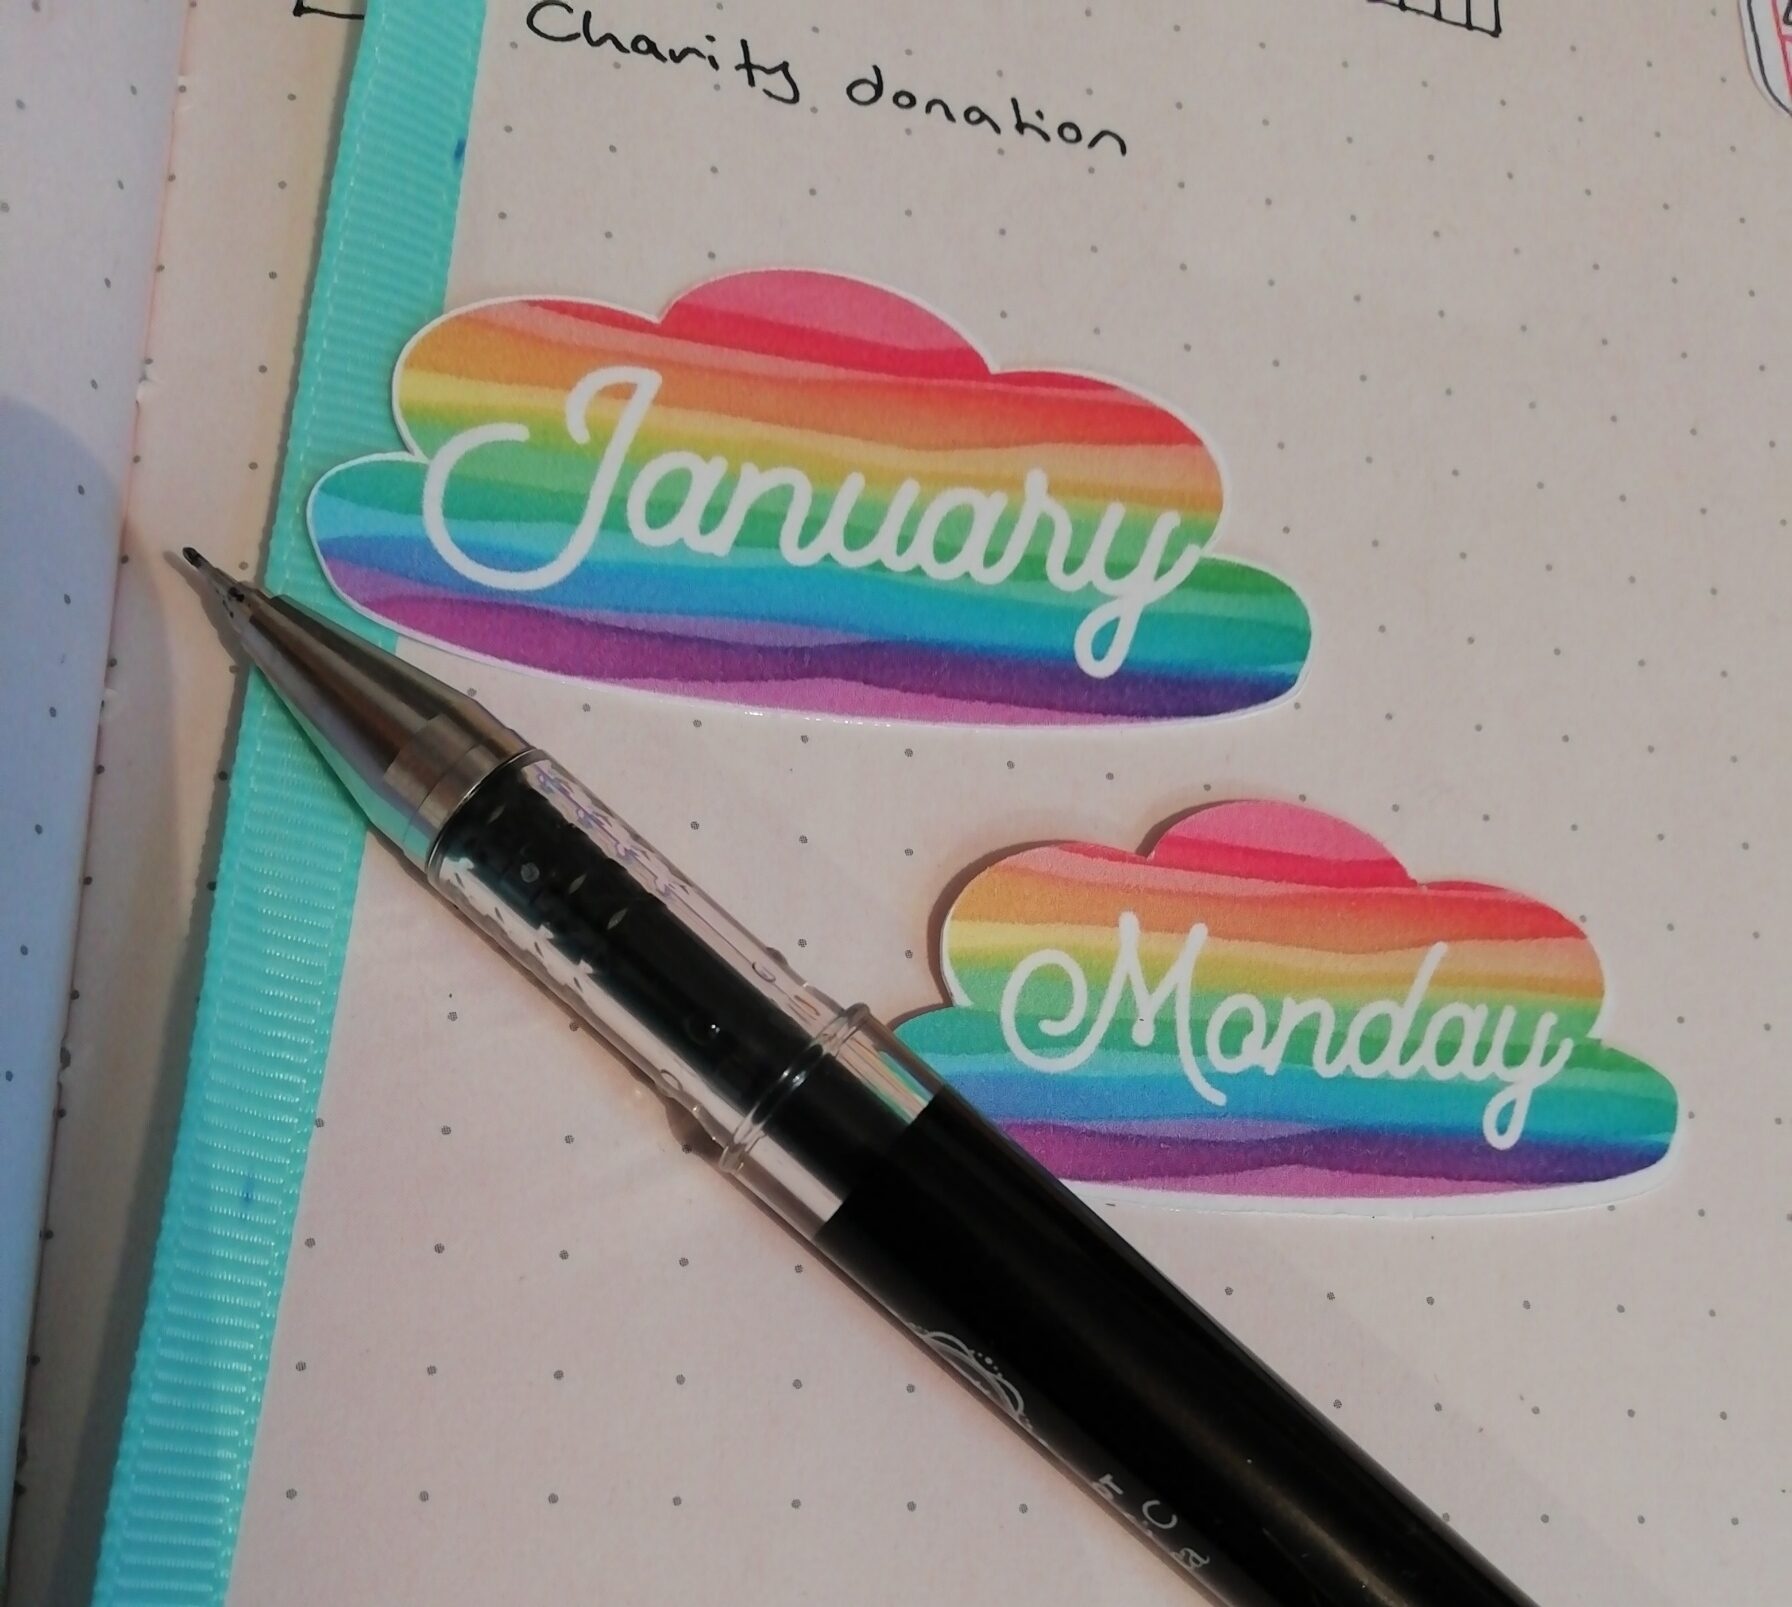
10 – Your sticker sheet is now complete. Peel off your stickers and stick them wherever you want!
If you are looking for designs to use to make planner or bullet journal stickers, check out my SVG design shop Craftyism Cut Files.
